Creating Kensi,
sounds like a movie or book title, that’s not quite accurate. This will be a chronicle following my building of a musical instrument. I name all my instruments, this one obviously will be named Kensi.
The closest approximation is best described as a cross between a dulcitar and a mandolin, a dulcilin if you will. A solid body electric using three courses of paired strings and dulcimer fretting. As this blog progresses I’ll be posting pictures of the various woods and materials involved. As well as work in progress of the actual construction.
And here we begin,
First I struggled with a design, until I finally settled on what may be my favorite yet.
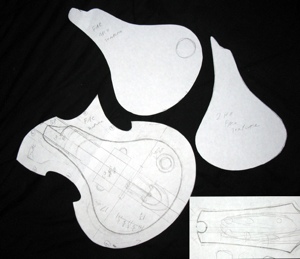
I’ve designated this design the “Fae”. (I’m sure someone will get the reference)
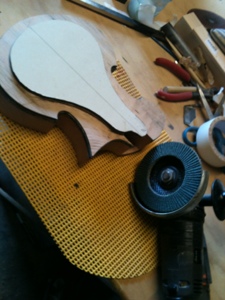
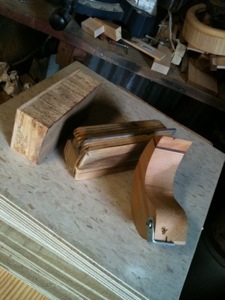
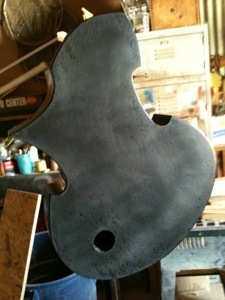
Pictured are the design template, two templates for shaping the top of the body and the head stock.
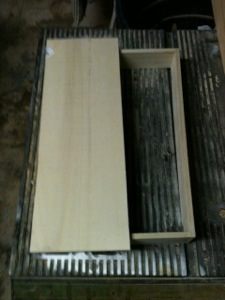
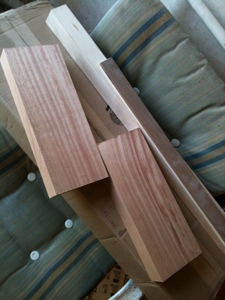
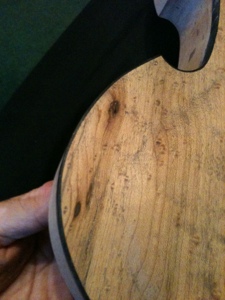
Working with the supplies as I get them, the next step is the top plate. I picked a cool length of birdseye maple. I took a twelve inch section, butterflied it on the tablesaw, glued together and planed. Should make a nice top.

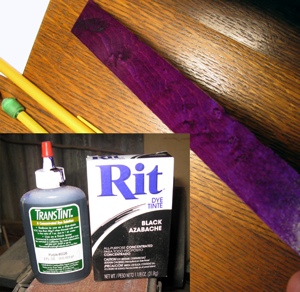
The over all build will be a classic black, but the maple top and back of the neck will be purple. To that end I purchased (dang expensive) transtint dye. A little research suggests a black dye highlight under the purple, luckily Rit dye is much cheaper. Here’s a shot of my test piece.
Update 9/17/2012:
Not a lot new on this, currently waiting on the wood pieces I ordered. Found the maple and mahogany I wanted with free shipping. Actually I have all supplies in hand or on order as of this date.
Did another test with the Rit dye. The black works great over walnut. Will make a dark fret board. Much easier.
Cut out the scrap templates for the shaped top. This will be sacrificial guides for my grinder as I bevel the top plate.

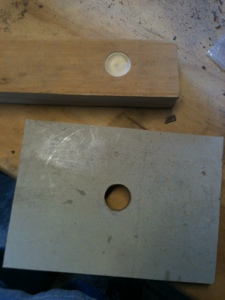
9-21-12: This past week, made a template for the volume knob recess.
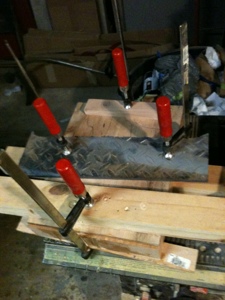
Wednesday, my wood order arrived, couldn’t wait to glue the mahogany blocks together.
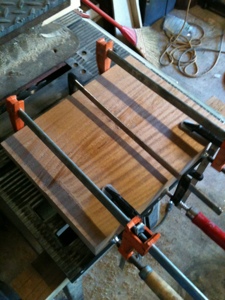

The glue set quickly, so I glued on the maple top plate. It took a fair amount of clamping.
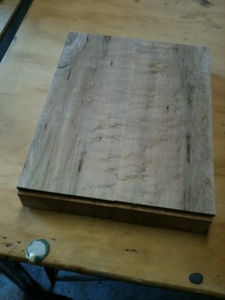
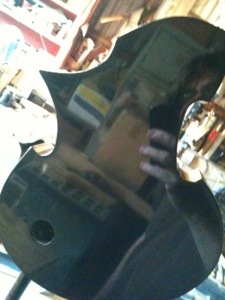
Was very pleased, to just sand the attached top plate. Didn’t have to make a trip to use my brother-in-laws planer.
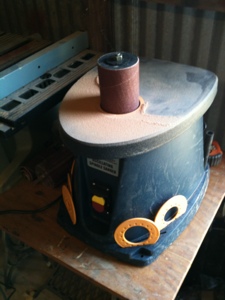
Friday, what a day, I scored a coupon for Harbor Freight. I’ve been wanting an oscillating spindle sander. Gonna make this build and beyond much easier.
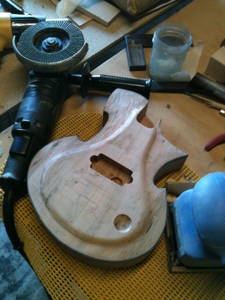
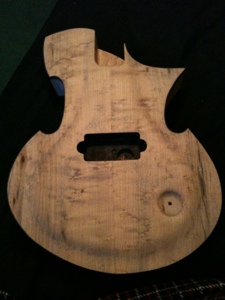
Made repairs to my bandsaw, after a few resets of the blade. I managed to get the body rough cut done
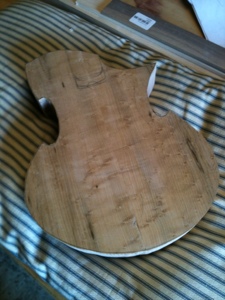
Spindle sander made quick work of the rough cut. Did two or three days of hand sanding in about three hours.
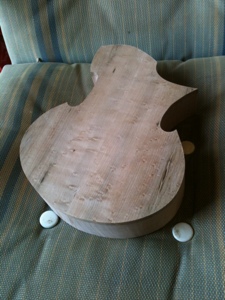
Sanding when so well, I made it to the point of routing the binding edge, the knob recess and the pickup cavity.
9-22-12
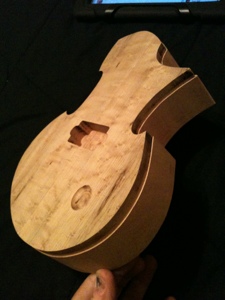
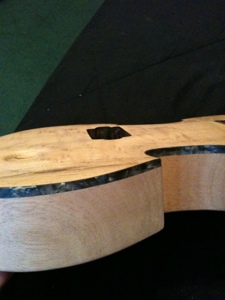
Got out to the shop early today, started on the binding. It’s an interesting procedure using acetone to weld the cellulose binding to the wood.

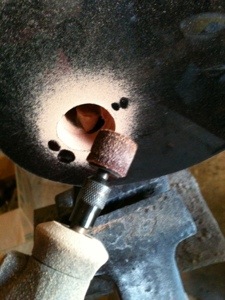
Finished settings the binding, it was time to start shaping the top. Bought a different grinding wheel than I’m used to. Worked better than I could have hoped. It followed my templates perfectly.

Yes, I use an angle grinder to carve with. That and a palm sander.
Made the rest of the day sanding and shaping the top. Used the spindle sander to level the binding.
Drilled out the wiring channels and the pot and jack cavities.
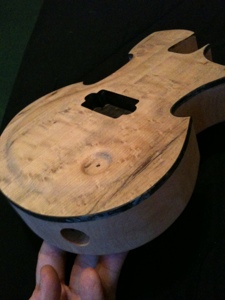
Couple of flaws in the wood grain are going to look great once I’ve dyed it. Forgot to get a picture but I did a wash of black dye to high-light the grain.

9-28-2012
Since my last update I’be made good progress on the neck. Managed to screw up the tuner holes even after what I thought were careful measurements. Luckily the repairs are almost invisible.
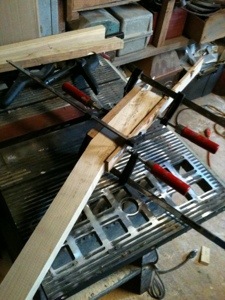
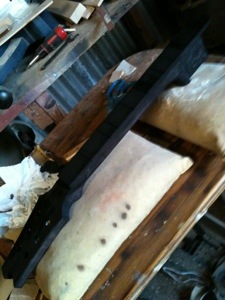
Here are a couple of shots where I cut and glued the neck angle.
Here the neck nears completion, the black is a preliminary dye. Sort of a primer for the black lacquer
.
I’ve actually applied the colored top coat, but I’m saving those pictures till the end. Don’t want to spoil the reveal.
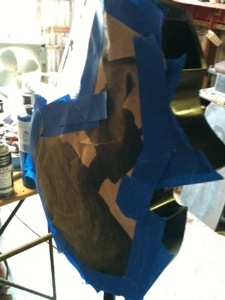
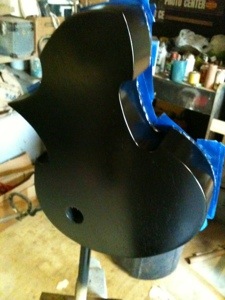
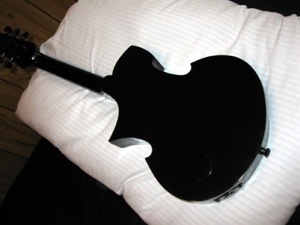
Here’s the body all masked up while I apply the black base color and clear.
Fabricated the custom tail piece this past week as well. Just needs its paint.

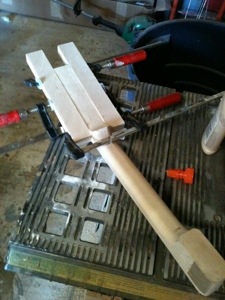
It’s been several days, missed a few pictures, made a few speciality tools for my fret work.
A 12″ radius sanding block, a dual angle fret edge file and a fret bender. I’m around twenty builds in and these made this fret job, by far, the best and easiest I’ve done.
Here’s the neck in progress, black lacquered paint, blacked dyed fret board.
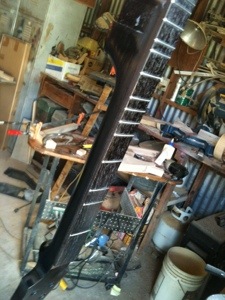
Twenty something coats of lacquer later, I’ve started the wet sanding process. Going to be a long tedious process, using several grades of sand paper, rubbing compounds and polish.

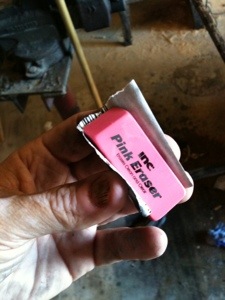
Got a custom sanding block too.
Spent three hours just sanding the the back. I changed finish plans a little late, wish I’d filled the pores better. Top and sides will go easier, managed to eliminate most of the pits. I think the little imperfections add character.


Probably going to do more sanding, but after a rub and polish it has a fairly decent shine.
10-8-2012
Since my last update, I’ve been working more on the finish, reapplied clear coat a couple of times. Today, I picked up a single piece of 3000 grit sandpaper. Really more of a thin pad. Was a stretch paying $7 for one sheet of paper. Now tho, it’s my new best friend. I think I’m finally getting the finish I was shooting for.
Finish on the neck is progressing as well, still have the wet sand leveling to do.
I should note, the lacquer finish has been way more labor intensive and expensive than I anticipated. I think I’ve learned plenty of in’s and out’s of the process, should cut labor and expenses on future builds. Don’t get me wrong, lacquer will be my finish of choice moving forward.
10-12-12
I’ve begun the assembly process. Ran into a worrisome hiccup gluing the neck in place. Mostly paranoia as I’ve never done a set neck with no bolt on support. It worked out tho. Had a seam line I filled with a black silicone smoothed it right out. Mounted the tuning machines, tail piece and strap button. Had to enlarge the pot cavity. Was nerve racking dremeling into the fresh finish.
10-16-12
At this point, I still have the nut and bridge to fabricate.
10-16-12
Have I mentioned my new found love for lacquer? Inadvertently chipped the paint, the self melting aspects of the lacquer let me make almost invisible repairs.
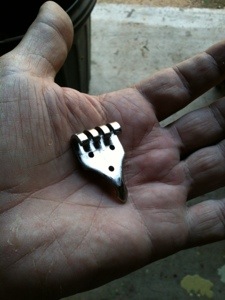
Finished the nut and bridge. Made the bridge from walnut. The nut from an antler, both dyed black.
And now….
Here she is!!
Kensi, Dark Fae Spellcaster
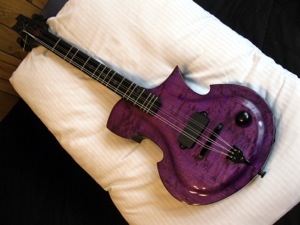


I am quite pleased with her.
Hope some one has enjoyed my postings. Maybe I’ll do it again sometime.